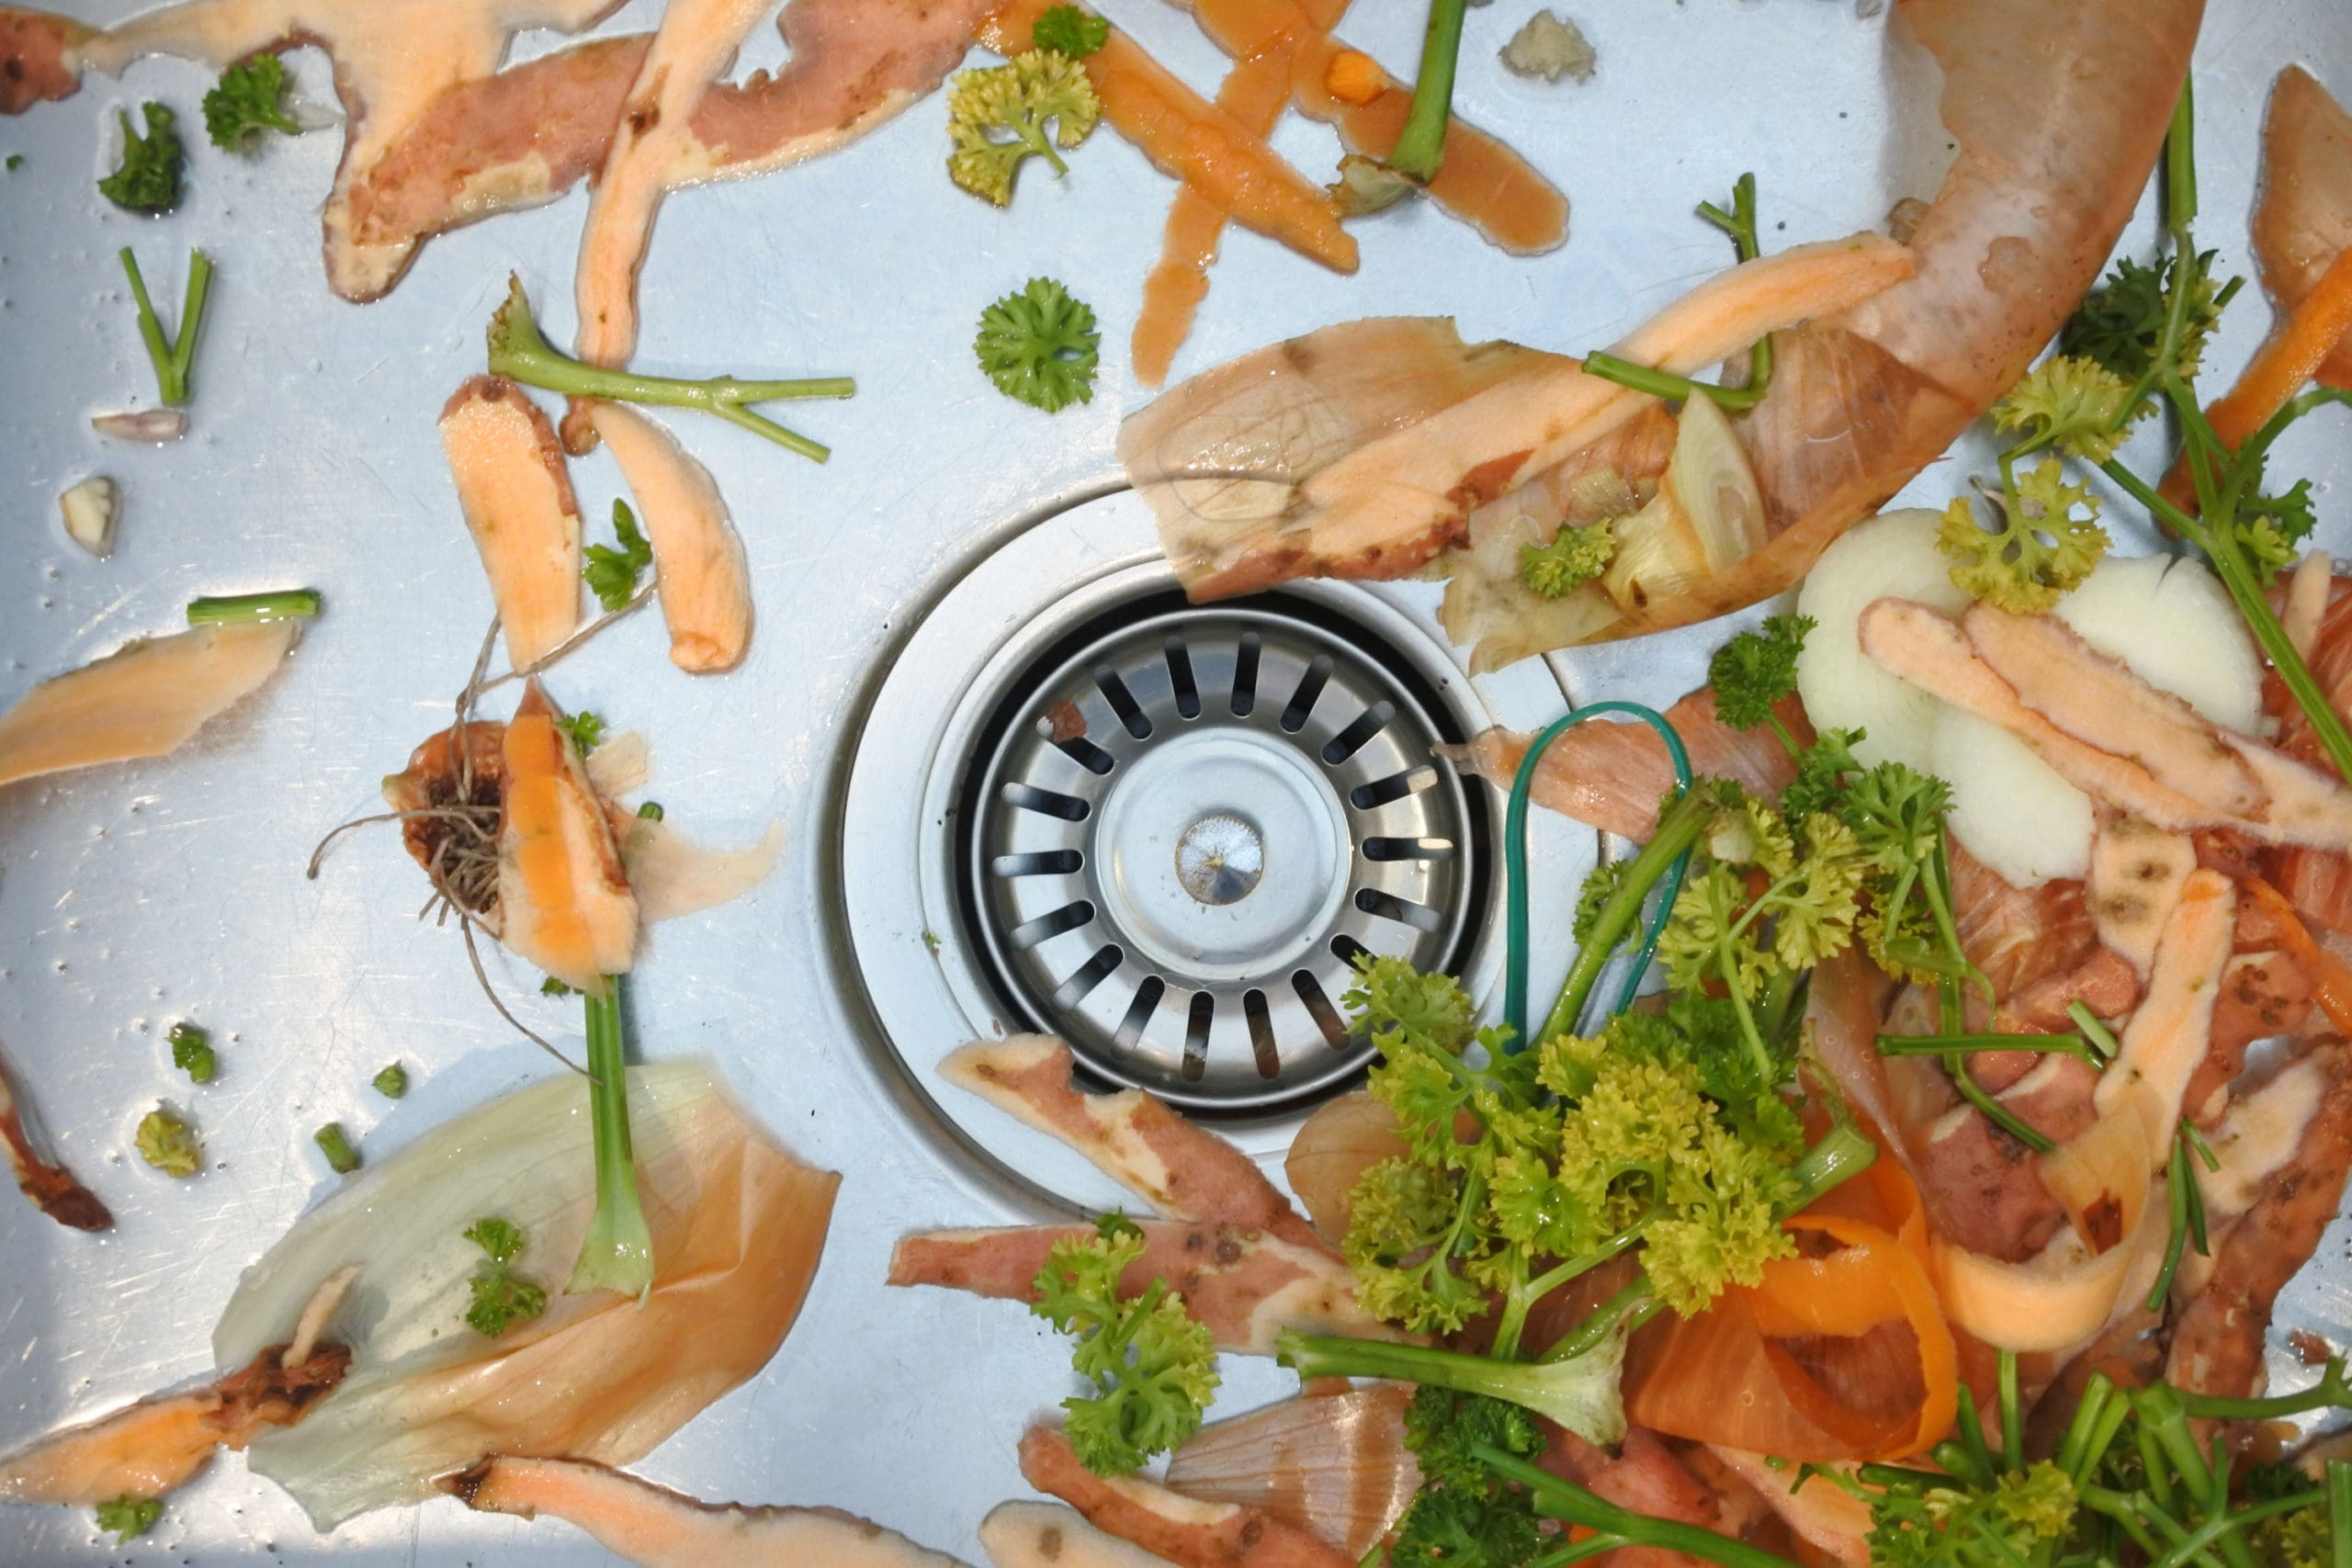
How to Fix a Kitchen Sink Drain Clog
A clogged kitchen sink drain can be a real nuisance, disrupting your daily routine and causing potential plumbing issues. When water starts to back up, and unpleasant odors permeate the kitchen, it’s time to tackle the problem head-on. In this blog post, we’ll walk you through the steps to fix a kitchen sink drain clog efficiently, while highlighting the expertise of Lickety-Split in resolving such issues promptly.
Step 1: Assess the Severity of the Clog
Before diving into any repair, it’s crucial to assess the severity of the clog. A partial blockage might be easier to handle, while a complete obstruction might require more in-depth troubleshooting. Start by running hot water through the sink. If it drains slowly or not at all, it’s time to move on to the next step.
Step 2: Use a Plunger
The plunger is a basic yet effective tool for clearing sink drain clogs. For the best results, use a cup plunger specifically designed for sinks. Fill the sink with enough water to cover the rubber part of the plunger, and ensure the plunger’s seal is tight around the drain. Pump the plunger up and down vigorously to create pressure that dislodges the clog. Lickety-Split recommends repeating this process several times to achieve the desired results.
Step 3: Try a Natural Drain Cleaner
If the plunger doesn’t do the trick, consider using a natural drain cleaner. Mix equal parts of baking soda and vinegar in a cup and pour it down the drain. The chemical reaction between these two ingredients can break down minor clogs. Let the mixture sit for about 30 minutes, then flush the drain with hot water. Lickety-Split recommends this eco-friendly solution as a preliminary step before moving on to stronger alternatives.
Step 4: Use a Commercial Drain Cleaner
For more stubborn clogs, a commercial drain cleaner can be used. However, exercise caution when handling these products, as they often contain harsh chemicals. Follow the instructions carefully and wear protective gloves. Lickety-Split suggests using commercial cleaners as a last resort and avoiding them if possible, as they can harm your pipes and the environment.
Step 5: Remove and Clean the P-Trap
If the clog persists, it’s time to check the P-trap. The P-trap is the curved pipe beneath the sink that retains water to prevent sewer gasses from entering your home. Place a bucket under the P-trap to catch any water, then carefully remove the trap by loosening the slip nuts with pliers. Once removed, clean out any debris or clogs, and then reassemble the trap securely. Lickety-Split advises checking for any signs of damage or wear on the P-trap and replacing it if necessary.
Step 6: Seek Professional Assistance
If all attempts to unclog the kitchen sink drain fail, it’s time to call in the experts. Lickety-Split has a team of highly trained professionals equipped with the right tools and expertise to tackle even the most challenging drain clogs. Trying to force the issue with DIY methods could potentially worsen the problem, leading to costlier repairs in the long run. Letting professionals handle the situation ensures a thorough assessment and proper resolution, saving you time, money, and unnecessary frustration.
Conclusion: Fixing a Kitchen Sink Drain Clog
Dealing with a clogged kitchen sink drain can be frustrating, but with the right approach, it’s a problem that can be easily resolved. From using a plunger and natural drain cleaners to inspecting the P-trap, these steps can help clear most clogs. However, if the issue persists, don’t hesitate to seek help from trusted professionals like Lickety-Split. Remember, regular maintenance and mindful usage can go a long way in preventing future drain clogs, keeping your kitchen sink in top-notch condition.
Recent News
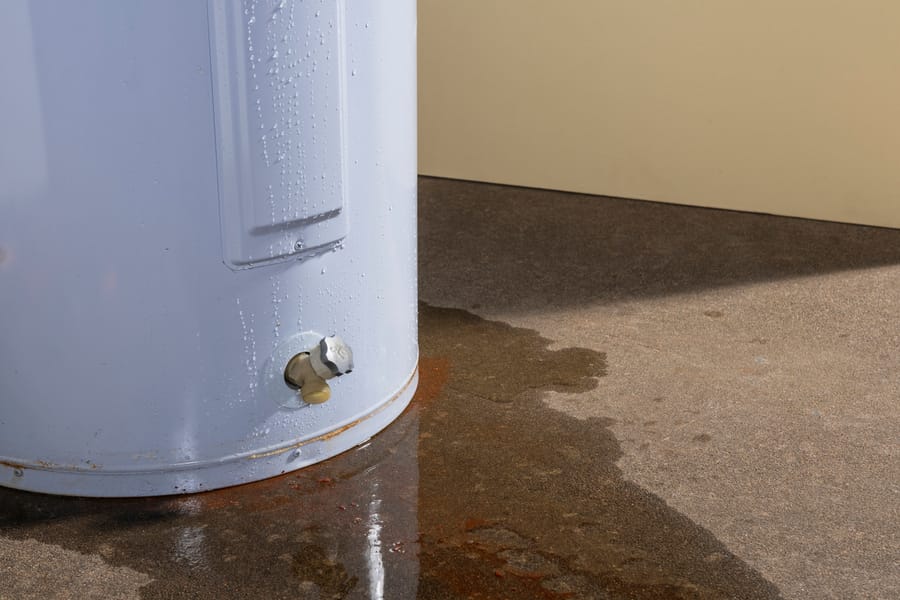
Why is My Water Heater Leaking from the Bottom in Jacksonville?

Winter Electrical Safety Checklist for Northeast Florida Homes

Lighting the Night Safely: Outdoor & Holiday Lighting Tips for Florida Winters
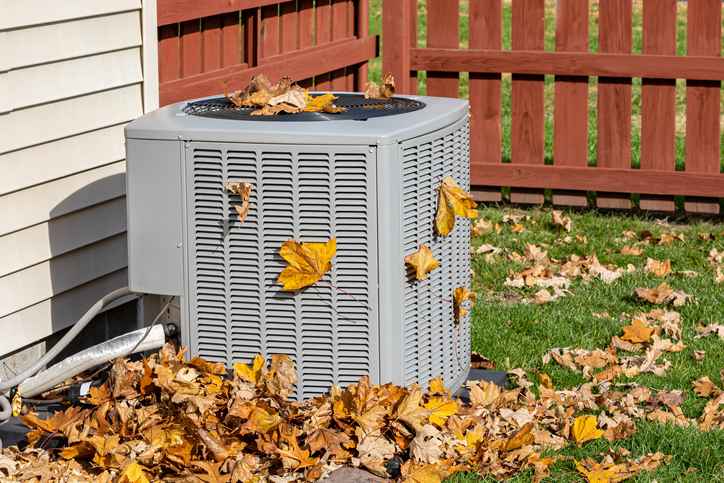
Florida Fall HVAC Tune-Up Guide: Get Your System Ready for Cool Nights & Humid Days

Why Emergency Plumbing Is So Expensive and 4 Ways to Avoid Needing It
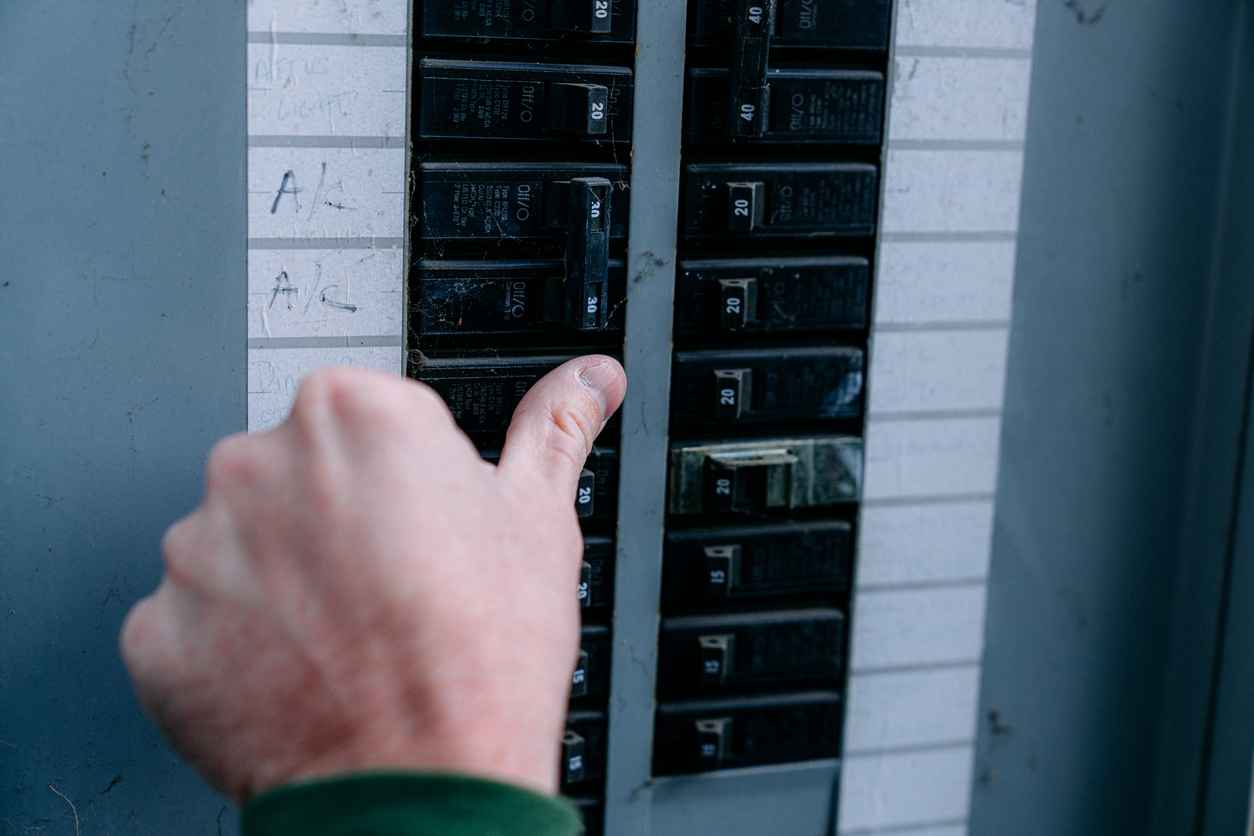
How to Know if You Actually Need a Panel Upgrade
Understanding the Importance of Regular Drain Cleaning

