Back to Blog
How to Flush a Water Heater: A Step-by-Step Guide
Maintaining your home’s water heater is crucial for ensuring its efficiency and longevity. One essential maintenance task is flushing the water heater, which helps remove sediment buildup, improve energy efficiency, and extend the life of your unit. Whether you’re flushing a standard water heater or a hot water heater, this guide will walk you through the process, ensuring you can perform this task safely and effectively.
Why Flush Your Water Heater?
Over time, water heaters can accumulate sediment at the bottom of the tank. This sediment, primarily made up of minerals found in water, can reduce your water heater’s efficiency and clog your water lines. By regularly flushing your water heater, you can prevent these issues and enjoy consistent hot water when you need it.
Steps for Flushing a Water Heater
Tools You Will Need
Before you start the flushing process, make sure you have the following tools:
- Garden hose
- Screwdriver (if needed)
- Bucket (for testing)
- Gloves and goggles for safety
Step 1: Turn Off the Water Heater
For electric water heaters, locate your circuit breaker and turn off the power to the unit. For gas water heaters, you’ll want to turn the thermostat to the “pilot” setting to ensure the burner doesn’t ignite while you’re working.
Step 2: Connect the Hose
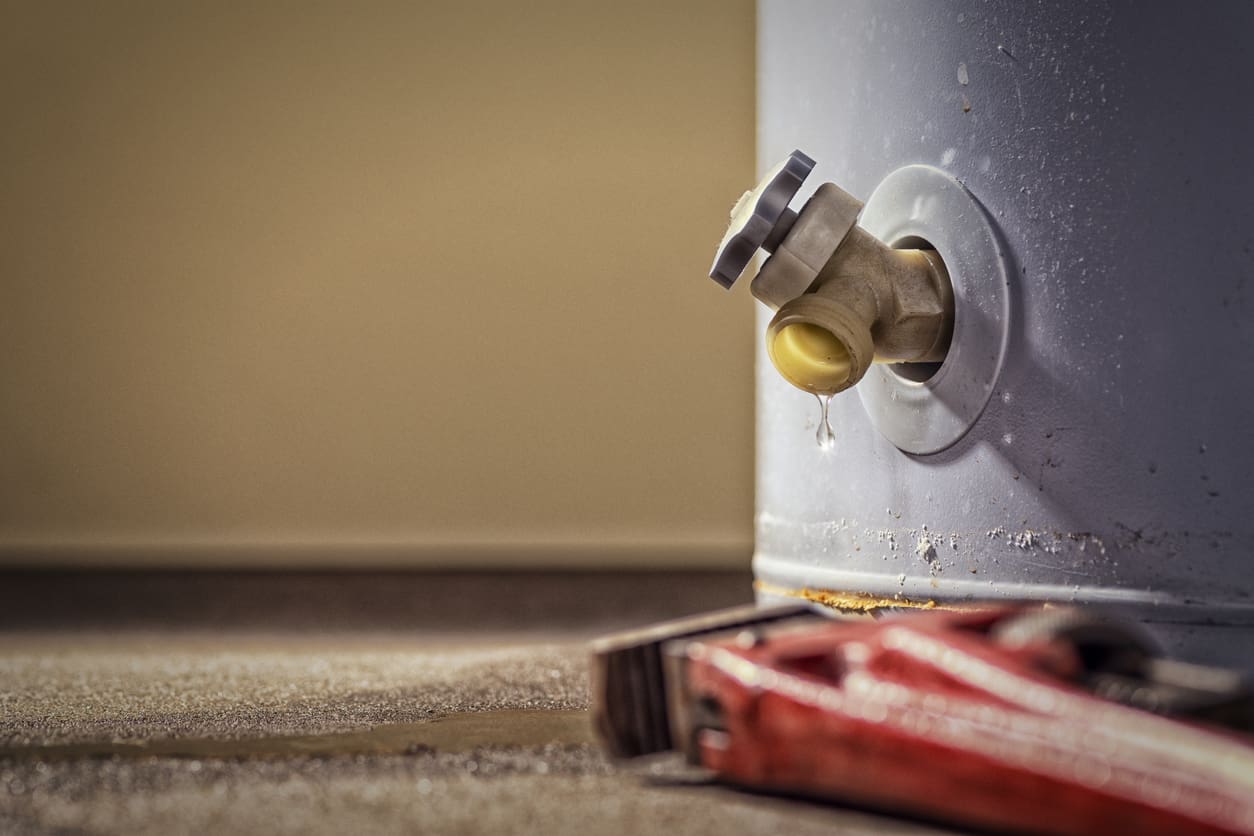
Locate the drain valve on your water heater, which is usually situated at the bottom of the tank. Attach a garden hose to this valve. Make sure the other end of the hose is in an area where hot water can safely drain, such as a floor drain or an outdoor area.
Step 3: Turn Off the Water Supply
Find the cold water supply valve leading to your water heater and turn it off. This prevents more water from entering the tank as you drain it.
Step 4: Open the Drain Valve
Open the drain valve where you’ve connected the hose. Be prepared for the water that comes out to be hot. Initially, the water might look cloudy due to the sediment, but it should clear up as the tank continues to drain.
Step 5: Flush the Tank
With the drain valve open, go back to your water supply valve and turn it on to flush fresh water through the tank for a few minutes. This helps remove any remaining sediment. Keep an eye on the water flowing through the hose; once it’s clear, you’ve successfully flushed out most of the sediment.
Step 6: Refill the Water Heater
Once the water runs clear, close the drain valve, remove the hose, and turn on the cold water supply valve to refill the tank. Make sure to open a hot water faucet in your home to release air from the system.
Step 7: Turn the Water Heater Back On
For electric water heaters, go back to your circuit breaker and turn the power back on. For gas water heaters, turn the gas valve back on and relight the pilot if necessary, then set the thermostat to your desired temperature.
Conclusion
Flushing your water heater is a straightforward process that can significantly impact the efficiency and lifespan of your unit. By following these steps to flush your water heater, you can ensure that your system runs smoothly and efficiently, providing your home with hot water when you need it most.
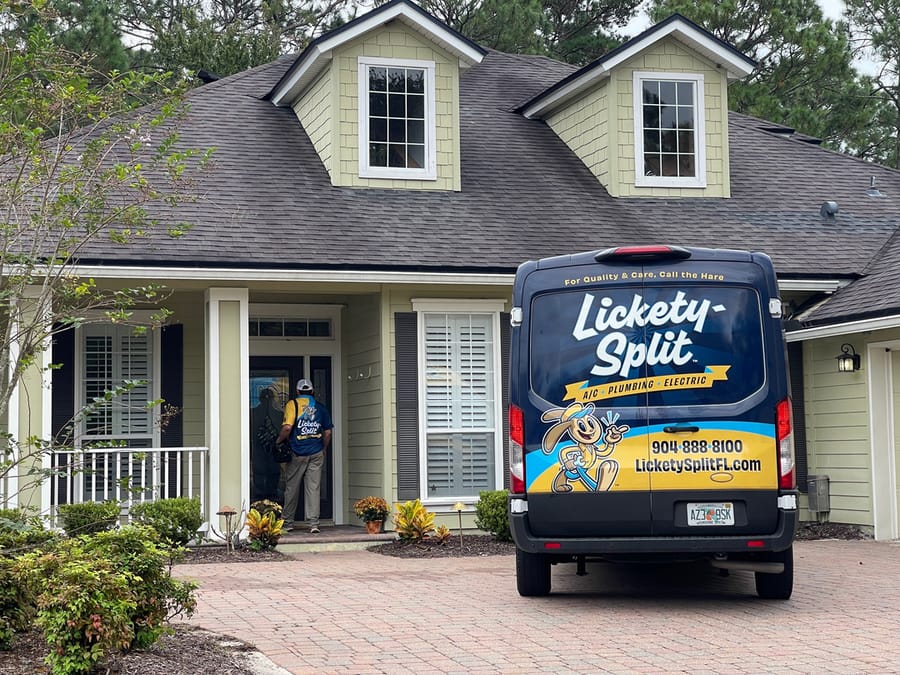
Don’t let sediment buildup decrease the efficiency of your water heater. If you’re not comfortable performing this maintenance task yourself or if you encounter any issues during the process, don’t hesitate to contact a professional. At Lickety-Split, we’re here to help with all your plumbing needs. Our team of experts can provide water heater maintenance, repairs, and installations, ensuring your system operates at its best.
Contact us today to schedule your water heater maintenance or for any plumbing concerns you might have. Keep your water heater in top condition and enjoy the peace of mind that comes with knowing you’re in good hands with Lickety-Split.
Recent News
The Hidden HVAC Problem Costing You Comfort & Higher Energy Bills
Jacksonville Homeowner Red Flags: 7 Plumbing Problems You Shouldn’t Ignore
Is Dirty Ductwork Affecting Your Indoor Air Quality in Jacksonville?
PEX vs. Copper Piping: Which Is Better For Your Jacksonville Home?
Is Your Cat Breaking Your AC? How Pet Hair Can Lead to a Frozen System
The Hidden Fire Risk in Your Attic: Why Correct HVAC Wiring Saves Homes

The Science of Home Excellence: Beyond the Lickety-Split Reviews and Technical Standards in Jacksonville

Home Services You Can Trust
When solving problems in your home, you want the people you trust most to be on the job.